
Pruning
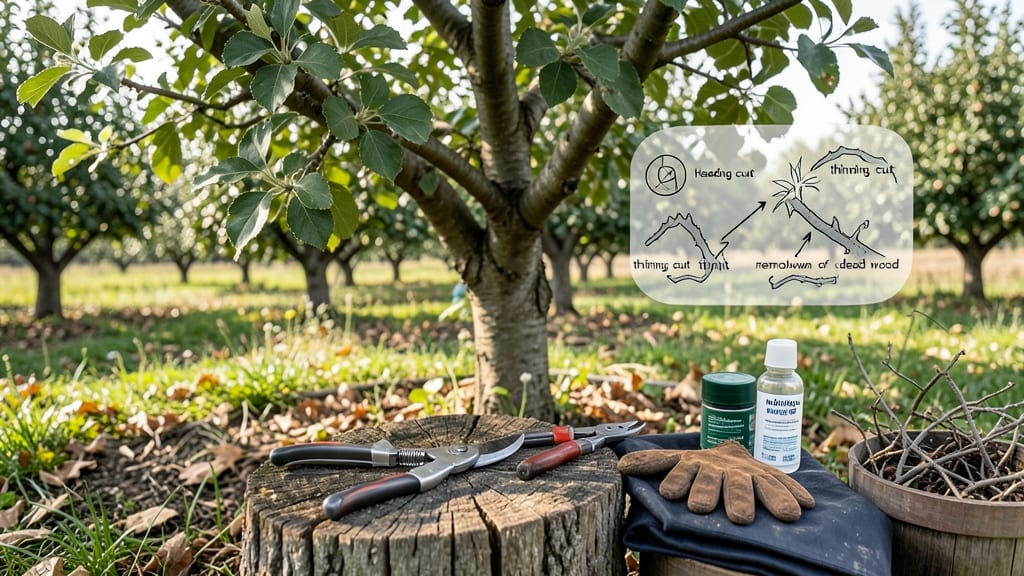
Your fruit tree pruning guide will determine next season’s harvest—get those first cuts right, and you’ll see 30% more fruit while keeping your tree healthy and strong. ✂️ I've pruned everything from peach trees to apple orchards, and the best time to start is actually late winter, before buds swell but after the worst cold snaps pass.
That's when the tree's dormant but the weather's cooperative, making it easier to see the structure without stressing the plant.
The tools you need are simpler than you'd think: sharp bypass pruners, a sturdy loppers for thicker branches, and a pruning saw for the really thick limbs. Safety gear—gloves and eye protection—isn't optional, especially when working with old wood that might snap unpredictably.
Most importantly, grab a notebook to sketch your tree's shape before you start cutting; that map becomes your guide for consistent pruning every year.
What you'll end up with is a tree that produces larger, higher-quality fruit while staying disease-resistant and structurally sound. The key is removing dead or crossing branches first, then opening up the center for sunlight and air circulation.
You'll see new growth within weeks, and by summer, your tree will look like it's been professionally maintained—even if you're just getting started.
This method works for apple, peach, cherry, and citrus trees, whether you're shaping a young sapling or rejuvenating an overgrown mature tree. The seasonal calendar I'll walk you through ensures you're always pruning at the right time, no matter what kind of fruit tree you're growing.
Let's get those branches looking intentional!
📚 In This Guide
- What you need
- Instructions
- Tips and common mistakes
- Wrapping up and next steps
What you need
- ● Pruning shears (bypass or anvil type) – Sharp, 6-8" blades for small branches (under ½ inch thick). Quantity: 1 pair.
- ● Loppers – Long-handled (20-24"), 24-32" cutting capacity for medium branches (½ to 1½ inches thick). Quantity: 1 pair.
- ● Pruning saw – Curved-tooth blade for clean cuts on thick branches (1½+ inches). Quantity: 1.
- ● Gloves (cut-resistant) – Leather or heavy-duty fabric to protect hands from thorns and rough bark. Quantity: 1 pair.
- ● Disinfectant (70% isopropyl alcohol or bleach solution) – 1:10 bleach-to-water ratio to sterilize tools between cuts and prevent disease spread.
- ● Rubbing alcohol or hand sanitizer – For cleaning hands after pruning.
- ● Tarp or drop cloth – To collect debris and protect the ground.
- ○ Marking twine or paint – Optional but helpful for tagging branches to remove.
- ● Pole saw or pruning pole – For high branches (extendable, 6-12 ft).
- ● Extension ladder (stable, 12-20 ft) – If trees are tall.
- ○ Tree wound dressing (optional) – Controversial; some gardeners skip it (e.g., pruning sealant for large cuts).
- ● Notebook & pencil – To sketch tree shape or track pruning progress.
- ● Safety glasses – Protects eyes from debris, especially when using a saw.
- ● ✅ Check local regulations – Some areas restrict pruning during certain seasons (e.g., bird nesting periods).
- ● ✅ Weather window – Prune on a dry, calm day (avoid wind or rain).
- ● ✅ Know your tree – Research your specific fruit tree (e.g., apple, peach, citrus) for ideal pruning times and techniques.
- ● ✅ Safety first! – Wear closed-toe shoes, avoid loose clothing, and keep kids/pets away from falling branches.
Step-by-Step guide to pruning fruit trees for healthy growth
Here's the seasonal approach I've used for years to keep fruit trees productive and well-shaped.
✂️ Step 1: Prune Young Trees in Late Winter (Dormant Season)
This is the best time to establish your tree's structure. When buds swell but before leaves appear (usually February-March), remove any crossing branches that rub together—these wounds invite disease. I start by cutting back last year's growth by ⅓ to ½ to encourage strong new growth from the base.
Look for branches growing inward or downward—they'll compete with others for sunlight and nutrients. Remove them completely at the branch collar (the swollen area where the branch meets the trunk). Use clean, sharp pruners to make cuts at a 45-degree angle, about ¼ inch above an outward-facing bud.
Here's the thing—young trees need open centers to let light reach all branches. I aim for an open vase shape where sunlight can penetrate to the center. If you see a branch growing straight up, leave it—it'll become the tree's main scaffold branch.
☀️ Step 2: Light Summer Pruning After Harvest (June-July)
After your tree fruits, it's time for a lighter touch. Focus on removing any suckers (vigorous shoots growing from the base or trunk) and water sprouts (fast-growing vertical shoots). These compete with fruiting branches for energy and should be cut back to ½ inch above a bud.
Look for branches that produced fruit but are now crowded. Thin them out to improve air circulation—this reduces disease risk. I like to leave 6-8 main scaffold branches spaced evenly around the tree. Each branch should have its own well-defined leader (main upward growth).
If you notice any dead, diseased, or broken branches, remove them immediately. Make clean cuts just outside the branch collar. Don't leave stubs—they invite pests and decay. Summer pruning keeps your tree from putting too much energy into new growth right before winter.
🌿 Step 3: Final Light Pruning in Late Fall (October-November)
This is more of a cleanup than a structural pruning. Remove any branches that produced fruit this year but are now weak or diseased. Thin out any branches that are growing too densely—aim for 4-6 inches of space between branches to allow sunlight penetration.
Watch for branches that grew too vigorously this summer. You can lightly trim them back by 10-20% to prevent winter damage from heavy snow or ice. I avoid heavy pruning in late fall because it stimulates new growth that won't harden off before winter.
This is also the time to check for any branches that have died back due to frost or disease. Remove them completely. If you see any signs of fungal diseases like cankers, sterilize your pruners with rubbing alcohol between cuts to prevent spreading pathogens.
⏰ Step 4: Winter Maintenance (December-February)
While your tree is dormant, take time to assess its overall shape. Look for any branches that are growing too close together or crossing. These should be pruned during the next dormant season. Remove any dead or broken branches that may have resulted from winter storms.
If you notice any branches that are growing too low, you can raise them slightly by cutting just above a bud that's growing in the right direction. This keeps your tree's shape balanced and makes future pruning easier. I also check for any branches that are growing too upright—these can be lightly trimmed to encourage a more open, fruiting structure.
Don't forget to clean up all pruned material from the base of the tree. This prevents pests and diseases from overwintering and infecting your tree next season. Store your pruners in a dry place and sharpen them before the next pruning season begins.
🌱 Step 5: Post-Pruning Care for All Seasons
After each pruning session, apply a 2-3 inch layer of mulch around the base of your tree (but keep it 3-4 inches away from the trunk). This helps retain moisture and regulate soil temperature. Water deeply right after pruning to help the tree recover and reduce stress.
If you've made large cuts (over ½ inch in diameter), consider applying a wound dressing to seal the cut. While some gardeners debate this, I find it helps prevent disease entry, especially in wet climates. For smaller cuts, let them heal naturally—the tree will seal them over time.
Keep an eye on your tree in the weeks following pruning. If you notice any signs of stress like wilting leaves or unusual leaf drop, give it extra water and monitor for pests. A well-pruned tree should show new growth within 4-6 weeks of spring pruning—that's your sign everything is working!
Tips & tricks for fruit tree pruning success
These seasoned strategies will help you maintain healthy, productive fruit trees year-round.
Timing is Everything: The February-March dormant season pruning in Step 1 is crucial because it allows your tree to heal before spring growth begins. If you miss this window, wait until late winter when buds are just starting to swell. I've found that pruning too early can expose fresh cuts to late frosts, while waiting too long risks stimulating new growth that won't harden off properly before winter.
Branch Collar Matters: When making cuts in Step 1 and Step 2, always cut just outside the branch collar—the swollen area where the branch meets the trunk. This is where the tree's natural healing tissues are located. I learned this the hard way after making cuts too close to the trunk, which led to slow healing and disease entry points. The ¼-inch rule above an outward-facing bud ensures proper regrowth direction.
Seasonal Adjustments: In Step 3's late fall pruning, focus on cleanup rather than structural changes. The 10-20% trim recommendation helps prevent winter damage, but remember that late fall is not the time for major structural adjustments. I've seen trees stressed by late-season pruning attempts—stick to the guidelines to avoid stimulating vulnerable new growth before winter.
Tool Maintenance: Your pruners are your most important tools. Sterilize them with rubbing alcohol between cuts when dealing with diseased branches in Step 3, and sharpen them regularly. Dull blades tear rather than cut cleanly, causing more damage to your tree. I keep a small sharpening stone in my gardening toolbox and sharpen my pruners before each season—it makes all the difference in clean cuts.
Pro Tips for Fruit Tree Pruning Guide
- These seasoned strategies will help you maintain healthy, productive fruit trees year-round.
- Timing is Everything: The February-March dormant season pruning in Step 1 is crucial because it allows your tree to h...
- Branch Collar Matters: When making cuts in Step 1 and Step 2, always cut just outside the branch collar—the swollen a...
Frequently asked questions
Got questions about fruit tree pruning?
Here are answers to the most common concerns—from timing to tools and troubleshooting—to help you prune like a pro!
When is the best time to prune fruit trees?
The ideal time depends on your tree type! Dormant pruning (late winter/early spring) is best for most fruit trees (like apples, peaches, and cherries) to avoid disease spread. Summer pruning (after harvest) helps shape trees and control size. Evergreens (like citrus) can be pruned lightly year-round, but avoid heavy cuts in winter.
Do I really need pruning shears, or can I use loppers for everything?
It’s smart to have both! Use pruning shears for small branches (under ½ inch thick) and loppers for medium-sized branches (½ to 2 inches). For anything larger, grab a pruning saw—never force shears or loppers, or you’ll damage the tree. Invest in sharp, clean tools to prevent tearing bark.
Will pruning reduce my fruit harvest next year?
Not if done right! Pruning actually boosts yield by improving airflow and sunlight penetration. Focus on removing dead, diseased, or crossing branches first. Light pruning (15–25% of the canopy) encourages stronger growth and more fruit. Avoid over-pruning—too much too soon can stress the tree.
What should I do if my tree starts bleeding sap after pruning?
Sap bleeding (common in maples, birches, and some fruit trees) is normal and harmless! It won’t hurt the tree, but you can reduce it by pruning on dry, cool days (not warm or rainy). Seal larger cuts with pruning sealant if you’re concerned, though many experts say it’s unnecessary for healthy trees.
How do I know if my pruning cuts are healing properly?
Healthy cuts should callus over (form a smooth, raised edge) within 1–2 growing seasons. If you see oozing sap, mold, or dead branches persisting, your tree may be stressed or diseased. Sterilize tools with rubbing alcohol between cuts, and avoid pruning during wet weather to prevent fungal infections.
Wrapping up and next steps
Mastering fruit tree pruning is your secret weapon for bountiful harvests and healthier trees! 🌳 By following this seasonal guide—whether you’re shaping young saplings or maintaining mature branches—you’ll boost airflow, reduce disease risk, and encourage sweeter, more abundant fruit. Start small, stay consistent, and watch your orchard thrive!
Ready to put your new skills to work? Grab your pruners and schedule your first trim this season! For extra confidence, download our pruning checklist or join a local gardening group to swap tips. Happy pruning—your future fruit feast awaits! 🍎✨