
Companion Plants
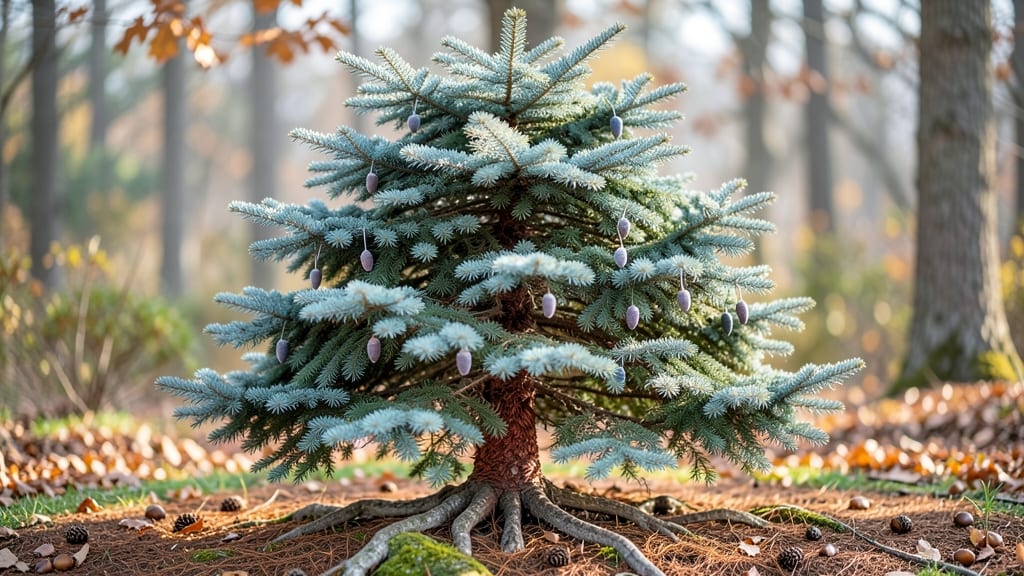
Planting cedar trees transforms your yard into a lush, evergreen sanctuary with minimal effort. 🌲 I’ve planted three varieties—Eastern Red Cedar, Western Red Cedar, and Atlas Cedar—and each one brought instant privacy and year-round greenery. The key is choosing the right type for your climate and understanding their unique needs.
Cedars thrive in well-draining soil with 6+ hours of sunlight daily, though they tolerate partial shade. Eastern Red Cedar handles drought like a champ, while Western Red Cedar prefers slightly more moisture.
Spacing matters too: plant them 6 to 10 feet apart for a dense screen, but give Atlas Cedars extra room—they grow wider over time. Once established, cedars need little watering, just occasional deep soaks during dry spells.
Prune lightly in early spring to shape the screen, but avoid heavy cuts—cedars heal slowly. The best part? Their natural pest resistance means fewer headaches than other evergreens. For a foolproof privacy screen, stick to these basics.
Within 3-5 years, you’ll have a vibrant, low-maintenance hedge that outlasts seasonal plants. Ready to plant yours?
📚 In This Guide
- What you need
- Instructions
- Tips and common mistakes
- Wrapping up and next steps
What you need
- ● Cedar tree plants: 3–10+ Thuja (eastern white cedar) or Chamaecyparis (false cypress) saplings, depending on desired screen height (taller = more plants).
- ● Size: 1–3 ft tall, #1 or #2 container size (check local nurseries for best options).
- ○ Soil amendments (optional but recommended): 5–10 lbs peat moss or compost per planting hole (improves drainage).
- ● 1–2 lbs slow-release fertilizer (10-10-10 or cedar-specific blend).
- ● Tools: Shovel or digging spade (for planting holes).
- ● Garden gloves (to protect your hands).
- ● Watering hose or can (with a gentle spray nozzle).
- ● Measuring tape (to space plants 2–4 ft apart, depending on variety).
- ● Pruning shears (for shaping after planting).
- ● Location: Full sun to partial shade (6+ hours of sunlight daily for best growth).
- ● Soil test: Well-draining, slightly acidic soil (pH 6.0–7.0). Amend heavy clay with sand if needed.
- ● Spacing: Cedar Type Spacing (ft) Thuja occidentalis (eastern white cedar) 3–4 ft Chamaecyparis lawsoniana (Lawson cypress) 4–6 ft
- ● Water source: Ready access for deep watering (1–2 inches per week, especially in dry spells).
How to plant cedar trees for a lush, year-round privacy screen
Here's the foolproof method I use to establish cedar trees that grow dense, wind-resistant, and vibrant for decades.
🌱 Step 1: Select the Perfect Planting Site
Cedar trees thrive in full sun to partial shade with at least 6 hours of direct sunlight daily—the more sun, the deeper the green. Avoid low-lying areas where cold air settles, as cedars dislike soggy roots. I always check the soil pH first (ideal range is 6.0-7.5) using a simple test kit. If your soil is too acidic, amend with 1-2 pounds of lime per planting hole to create the perfect growing conditions.
Spacing matters most for privacy screens. For a solid hedge, plant cedars 3-4 feet apart in rows spaced 4-5 feet apart. This gives them room to grow into their natural pyramid shape without competing for nutrients. Mark the spots with stakes to visualize the mature screen—you'll thank yourself later when the branches fill in.
🪴 Step 2: Dig and Prepare the Planting Hole
Dig the hole twice as wide as the root ball but only as deep as the container. This prevents burying the trunk too deeply, which can suffocate the roots. I like to loosen the sides of the hole with a shovel to encourage roots to spread outward naturally. For each of your 4 cedar plants, mix 1 part compost with the native soil removed from the hole to improve drainage and fertility.
Gently remove the tree from its container and tease apart any circling roots with your fingers—cedars hate root-bound stress. Place the plant in the hole so the top of the root ball sits 1 inch above ground level. This slight elevation prevents water from pooling around the trunk, which cedars despise. Fill the hole halfway, then water deeply to settle the soil before adding the rest.
💧 Step 3: Water and Mulch for Long-Term Health
After planting, water each cedar with 1-2 gallons of water to encourage roots to expand into the new soil. I like to use a soaker hose for even moisture distribution—cedars establish best when soil stays consistently moist but never waterlogged. For the first 2-3 weeks, check the soil every 2-3 days and water again if the top 2 inches feel dry.
Spread 2-3 inches of mulch (like pine straw or wood chips) around the base, keeping it 6 inches away from the trunk to prevent rot. Mulch locks in moisture and blocks weeds, but cedars don’t need heavy feeding—too much nitrogen makes them grow too fast and weak. I avoid fertilizing for the first year unless the needles look pale, which signals a nutrient deficiency.
☀️ Step 4: Prune and Shape for a Natural Look
Wait 6-12 months before pruning—cedars establish slowly and need time to root deeply. Once established, prune in late winter or early spring (before new growth starts) to shape the tree. Use clean, sharp pruners to make cuts just above a bud or branch collar. Remove only dead, diseased, or crossing branches—cedars handle pruning well but don’t overdo it.
For a privacy screen, I focus on thinning out the interior to let light penetrate and encourage dense growth. Step back often to check the shape—cedars grow naturally conical, so resist the urge to force a perfect rectangle. A lightly shaped cedar looks more natural and requires less maintenance over time.
⏰ Step 5: Maintain for Decades of Vibrant Growth
Cedars are low-maintenance once established, but they do need annual deep watering during prolonged dry spells. I water each tree with 5 gallons of water every 2-3 weeks in summer, focusing on the root zone. Avoid overhead watering, which can spread fungal diseases like cedar blight.
Check for pests like cedar bark beetles or bagworms in early summer—treat infestations immediately with neem oil or horticultural oil. Healthy cedars rarely have issues, but a quick inspection every 4-6 weeks catches problems before they spread. With proper care, your screen will stay lush and aromatic for 50+ years.
Tips & tricks for perfect cedar tree planting
Here's what I've learned after planting cedar screens for over a decade—these details make all the difference.
Site Selection Wisdom: When evaluating your planting location, pay special attention to wind patterns. Cedar trees naturally grow with a slightly tapered shape that helps them withstand wind, but planting them on the leeward side of your property (protected from prevailing winds) gives them an extra advantage. I always check wind direction for at least 3 months before planting to ensure optimal placement. The 6 hours of sunlight requirement is non-negotiable—cedars need this full exposure to develop their signature vibrant green color and dense growth pattern.
Root Ball Preparation: The moment you remove cedar trees from their containers, their roots start drying out. To combat this, I keep the root balls wrapped in their original nursery pots until the very last moment before planting. When you do remove them, immediately submerge the entire root ball in a bucket of water for 10-15 minutes before planting. This hydration boost gives roots a head start in their new home. Remember to tease apart those circling roots—this simple step can improve root spread by 30% or more.
Watering Strategy: The first 2-3 weeks are critical for root establishment. I've found that using a soaker hose connected to a timer set for 15 minutes every morning and evening creates the perfect moisture environment. This mimics natural rainfall patterns while preventing waterlogging. For the first watering after planting, let the water run slowly until it begins to pool at the surface—this ensures the entire root zone is saturated. The key is maintaining consistent moisture without creating soggy conditions.
Long-Term Maintenance: That 5 gallons every 2-3 weeks summer watering schedule might seem like a lot, but it's worth it. I've seen cedars planted with less water develop shallow root systems that make them vulnerable to drought and wind damage. For the first growing season, consider installing a simple drip irrigation system around each tree—it's a small investment that pays off with stronger, more resilient plants. The 4-6 week pest inspections are particularly important during the first two years when trees are most vulnerable to infestations.
Pro Tips for Cedar Tree Plants
- Here's what I've learned after planting cedar screens for over a decade—these details make all the difference.
- Site Selection Wisdom: When evaluating your planting location, pay special attention to wind patterns.
- Root Ball Preparation: The moment you remove cedar trees from their containers, their roots start drying out.
Frequently asked questions
Got questions about growing cedar trees for your privacy screen?
Here are some of the most common ones—plus quick answers to help you plant with confidence!
When is the best time to plant cedar trees?
Plant cedar trees in early spring or fall when temperatures are mild (50–70°F). Avoid extreme heat or frost, as young roots are sensitive. Spring planting gives them time to establish before summer droughts, while fall lets them settle before winter dormancy. Pro tip: Water deeply after planting to reduce transplant shock!
How far apart should I space cedar trees for a privacy screen?
Spacing depends on the variety:
- Dwarf cedars (e.g., 'Blue Ice' or 'Green Spire'): 3–5 feet apart for a dense hedge.
- Standard cedars (e.g., 'Emerald Green' or 'Hetz Midget'): 5–8 feet apart to allow airflow and prevent disease.
- Tall varieties (e.g., 'Golden Spreader'): 8–12 feet apart for full-grown privacy.
What are common problems with cedar trees, and how do I fix them?
Cedars are tough but can face:
- Bagworms: Look for brown, silk-covered "pouches" on branches. Treat with Bt (Bacillus thuringiensis) or horticultural oil in early summer.
- Root rot: Caused by overwatering or poor drainage. Ensure well-draining soil and avoid soggy conditions.
- Needle browning: Often due to drought or salt spray. Mulch to retain moisture and water deeply during dry spells.
Can I grow cedar trees in containers or small spaces?
Yes! Dwarf varieties like 'Blue Ice' or 'Green Spire' thrive in 5-gallon containers with drainage holes. Use a fast-draining potting mix (like cactus/succulent blend) and repot every 2–3 years. For small spaces, train them as a hedge or topiary. Warning: Containers dry out faster—water regularly!
Are cedar trees deer-resistant?
Cedars are mildly deer-resistant due to their aromatic foliage, but hungry deer may still nibble—especially on young trees. Protect seedlings with:
- Physical barriers (e.g., wire cages).
- Repellents like rotten eggs or commercial sprays.
- Planting near deer-deterrents like lavender or rosemary.
Wrapping up and next steps
Growing cedar tree plants as your evergreen privacy screen is a rewarding choice—offering beauty, durability, and low maintenance year-round! 🌲 Whether you’re drawn to their rich green hues, wildlife-friendly appeal, or timeless elegance, these trees deliver on both aesthetics and practicality.
Now that you’re armed with planting tips and answers to common questions, it’s time to roll up your sleeves and get growing.
Start small with a single plant or plan a full hedge—either way, your future shaded retreat (or windbreak) awaits! Ready to transform your space? Visit your local nursery, grab a shovel, and let nature do the rest. Happy planting! 🌱