
Pruning
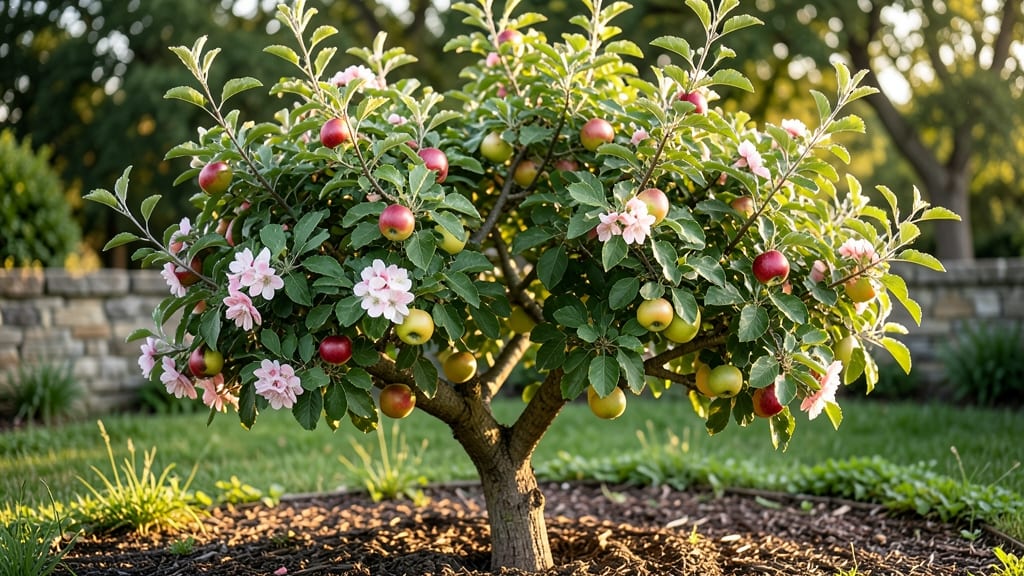
Apple tree gardening transforms your yard into a fruit-producing oasis—if you time those seasonal trims right. 🌳 I’ve turned my backyard into a mini orchard by following a simple calendar that keeps my trees healthy and bursting with fruit, and you can too.
The key is pruning at the right times: late winter for shaping, summer for thinning, and fall for cleanup. Most beginners overlook summer pruning, which is when you remove excess fruit to improve size and quality.
I learned this the hard way—my first harvest had tiny apples because I didn’t thin them early enough. By next summer, you’ll see larger, sweeter apples with fewer pests and diseases. The trees stay strong, branches don’t break under the weight, and you avoid the heartbreak of a poor harvest.
It’s all about balance—cutting back just enough to let sunlight and air reach the center. Works for dwarf, semi-dwarf, and standard apple trees alike. Here’s how to get started with the right tools and timing—no guesswork involved.
📚 In This Guide
- What you need
- Instructions
- Tips and common mistakes
- Wrapping up and next steps
What you need
- ● Pruning shears: Bypass pruners (for cuts under ½ inch) – 1 pair (look for ergonomic, sharp blades like Fiskars or Felco).
- ● Loppers: Bypass or anvil type (for cuts ½–2 inches) – 1 pair (extendable handles help with taller trees!).
- ● Pruning saw: Curved-tooth saw (for branches >2 inches) – 1 (lightweight, like Corona or Bahco).
- ● Gloves: Heavy-duty, cut-resistant – 1 pair (gardening gloves with grip pads protect from thorns and blisters).
- ● Disinfectant: 70% rubbing alcohol or pruning sealant – small bottle (sterilizes tools between cuts to prevent disease).
- ● Tarp or drop cloth: 10’x10’ or larger – 1 (collects debris and protects grass/soil).
- ● Twine or zip ties: – small roll (for temporary support of weak branches).
- ● Pole saw: Extendable – for high branches (saves time and strain!).
- ● Ladder: Sturdy, non-slip – if your tree is over 6–8 feet tall.
- ● Plant wound dressing: – speeds up healing of larger cuts (use sparingly!).
- ● Notebook or app: – to log pruning dates, notes, and tree progress (e.g., Gardenate or a simple journal).
- ● Safety gear: Sunglasses, long sleeves, closed-toe shoes – for protection from debris and sun.
- ● Know your apple tree variety (e.g., Honeycrisp, Granny Smith) and its growth habits.
- ● Check the last frost date in your zone (pruning timing varies by season!).
- ● Ensure your tree is healthy (no signs of disease like cankers or fungal spots).
- ● Have a clear goal for each pruning session (e.g., shaping, fruit production, disease removal).
Step-by-step guide to seasonal apple tree pruning
Here’s how I keep my apple trees productive and healthy through every season.
✂️ Step 1: Late Winter Pruning for Structure and Airflow
Start pruning in late winter (just before buds swell) when the tree is still dormant. This is the best time to shape the tree and remove dead, crossing, or diseased branches. I always begin by removing any branches that are rubbing against each other—these create wounds that invite pests and disease.
Use sharp, clean pruning shears to make cuts at a 45-degree angle about ¼ inch above an outward-facing bud. This ensures new growth emerges outward, improving airflow and sunlight penetration. For larger branches, use a pruning saw and seal the cut with pruning sealant to prevent infection. You’ll know you’re on the right track when the tree’s center opens up, letting light reach the inner branches.
☀️ Step 2: Summer Light Pruning to Encourage Fruit Production
In early summer, after the tree has finished flowering but before fruit sets, do a quick check for any branches that are shading the center or growing inward. These are called "water sprouts" or "suckers," and they steal energy from fruit production. Remove them with your pruning shears, cutting just above a leaf bud or branch collar.
This is also the time to thin out any overly dense foliage. You’ll see clusters of leaves blocking sunlight from reaching the center of the tree—these areas rarely produce fruit and can harbor pests. Aim to keep the tree open and airy, with sunlight reaching at least 60% of the canopy. If you’re unsure, step back and look for dark, shaded spots that need thinning.
✂️ Step 3: Post-Harvest Cleanup for Winter Preparation
After harvesting apples in fall, prune again to remove any dead, diseased, or broken branches. This cleanup helps the tree enter winter stronger and reduces the risk of fungal infections. Focus on branches that have produced fruit this season—cut them back to a strong lateral branch or bud to encourage new growth in the next season.
I also like to prune any branches that are growing too vigorously or at odd angles. These often compete with the main structure for energy and can weaken the tree over time. Seal larger cuts with pruning sealant and rake up any fallen leaves or debris around the base to prevent pests from overwintering. By the time winter arrives, your tree will be clean, balanced, and ready to rest.
⏰ Step 4: Annual Maintenance Checks in Early Spring
In early spring, just as the buds begin to swell, do a final walkthrough of your tree. Look for any new water sprouts, dead branches, or signs of disease like cankers or oozing sap. Prune these out immediately to keep the tree healthy. This is also the time to adjust the shape if needed—apple trees grow quickly, and their structure can shift over time.
Pay special attention to the lower branches. If they’re no longer producing fruit or are shading the grass too much, consider removing them entirely. You’ll know you’ve done a good job when the tree looks balanced, with sunlight reaching all parts of the canopy and no branches rubbing together. A well-maintained apple tree will reward you with stronger growth and better fruit production every year.
Tips & tricks for perfect apple tree pruning
Keeping your apple tree thriving takes more than just occasional trimming—it’s about strategic timing and technique. Here’s what I’ve learned from years of shaping my own trees.
Timing is Everything: Late winter pruning (just before buds swell) is critical because the tree is dormant, so it won’t bleed sap excessively. I always check for bud swelling by gently pressing a fingernail into a bud—if it resists, it’s still safe to prune. This timing ensures the tree can heal quickly and focus energy on new growth.
Tool Selection Matters: Using the right tool for each branch size makes all the difference. For small branches, sharp pruning shears are ideal—they create clean cuts that heal faster. For larger branches, a pruning saw is essential, but always sterilize your tools between cuts with rubbing alcohol to prevent spreading disease. I keep a small bottle of alcohol in my tool belt for quick cleanups.
Visual Cues for Better Pruning: When removing branches in Step 2 (summer light pruning), look for the "U" shape where the branch collar meets the trunk. Cut just outside this collar to preserve the tree’s natural healing ability. Also, step back frequently to check your progress—you should see sunlight reaching at least 60% of the canopy. This open structure prevents fungal issues and encourages fruit production.
Seasonal Checklist: I keep a simple checklist by my toolbox: "Late winter: structure," "Early summer: light pruning," "Fall: cleanup," and "Early spring: maintenance." Writing it down helps me stay consistent. For young trees, I focus on removing competing branches to strengthen the main scaffold, while mature trees need more attention to fruit-bearing branches.
Pro Tips for Apple Tree Gardening
- Keeping your apple tree thriving takes more than just occasional trimming—it’s about strategic timing and technique.
- Timing is Everything: Late winter pruning (just before buds swell) is critical because the tree is dormant, so it won’t bleed sap excessively.
- Tool Selection Matters: Using the right tool for each branch size makes all the difference.
Frequently asked questions
Got questions about keeping your apple tree happy and productive? You’re not alone! Here are answers to the most common queries from gardeners just like you—whether you're a beginner or a seasoned pro looking for a quick refresher.
When is the best time to prune an apple tree for fruit production?
The ideal time is late winter or early spring (before buds swell), but summer pruning (after harvest) can also boost fruit quality. Avoid pruning in fall—it invites pests and diseases. For young trees, focus on shaping; for mature trees, prioritize fruit wood (last year’s growth) over vigorous new shoots.
Can I prune an apple tree in winter if it’s dormant?
Yes! Dormant pruning (Dec–Feb) is perfect for removing dead, diseased, or crossing branches. However, avoid heavy pruning in extreme cold (<10°F) or during frost, as it stresses the tree. Wait for a mild day (above freezing) to work. Pro tip: Disinfect tools with rubbing alcohol to prevent spreading fungal spores.
What if I missed the winter pruning window? Can I still trim my apple tree?
Summer pruning (June–August) helps improve airflow and fruit size. Focus on:
- Removing water sprouts (vertical, fast-growing shoots).
- Thinning out crowded branches to reduce disease risk.
- Avoid heavy cuts—stick to light shaping.
My apple tree has brown, mushy branches after pruning. What went wrong?
This could signal borer damage (like apple tree borers) or fungal infections (e.g., silver leaf fungus). If you see:
- Sawdust-like frass near cuts.
- Dark, oozing sap.
- Wilting leaves.
Do I need special tools for apple tree pruning beyond basic shears?
For most home gardeners, a sharp bypass pruner and loppers (for thicker branches) suffice. Upgrade to:
- A pruning saw for branches >2 inches thick.
- Long-handled loppers for hard-to-reach spots.
- A pole saw if your tree is tall (safety first—wear gloves!).
Will pruning my apple tree reduce next year’s apple harvest?
Not if done correctly! Pruning increases fruit quality by:
- Improving sunlight penetration (bigger, sweeter apples).
- Reducing overcrowding (fewer but higher-quality fruits).
- Encouraging airflow (less disease, more energy for fruit).
Wrapping up and next steps
Growing your own apple tree is a rewarding journey that blends patience, care, and a dash of seasonal strategy! 🌳 By mastering the pruning calendar, you’ll not only keep your tree healthy but also unlock a bountiful harvest year after year.
Whether you’re a beginner or a seasoned gardener, every trim brings you closer to sweet, homegrown apples—so grab those shears and get ready to celebrate nature’s sweetest rewards!
Ready to take the next step? Start small: pick one season to focus on, like winter’s dormant pruning, and build from there. Before you know it, your apple tree will be thriving—and so will your confidence! 🍏✨