
Pruning
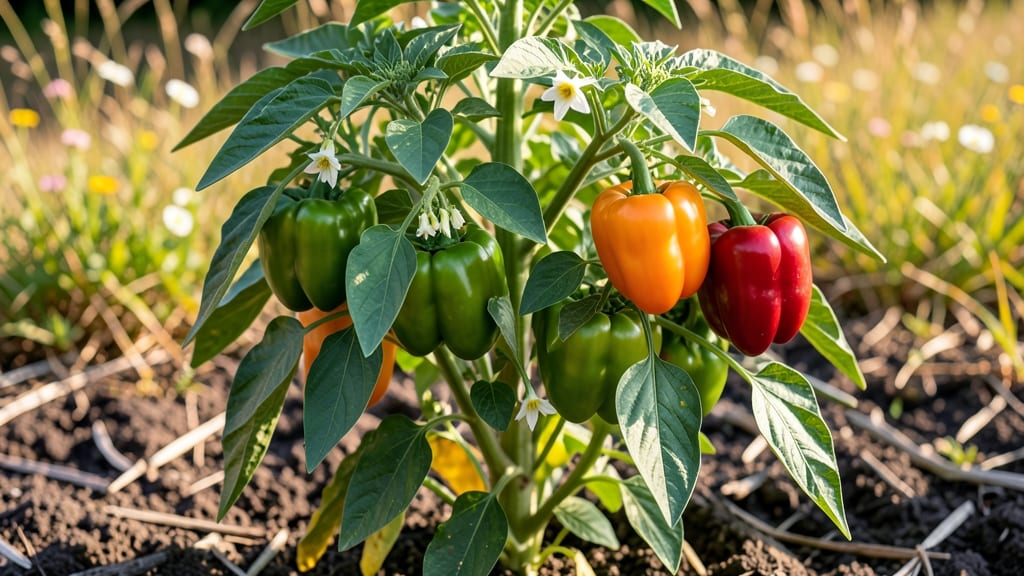
Your pepper tree's layered canopy isn’t just decorative—it’s the key to its health. 🌿 Pruning for sunlight and airflow keeps those glossy leaves vibrant and prevents fungal diseases that thrive in damp shade. I’ve learned the hard way that skipping this step turns a sturdy tree into a fungal magnet.
The right tools and timing make all the difference. You’ll need sharp bypass pruners, loppers for thicker branches, and a clear day to avoid spreading diseases. Trim in late winter or early spring before new growth begins—this gives your tree a strong start to the season.
What you’ll end up with is a tree that looks fuller, grows stronger, and stays disease-free. Those lower branches you’ve been tempted to cut? Keep them for shade and structure, but thin them out to let light reach the center. The result? A pepper tree that thrives for decades.
Works for both young saplings and mature trees in landscapes. Let’s get those branches shaped right—your tree will thank you with glossy leaves and fewer pests.
📚 In This Guide
- What you need
- Instructions
- Tips and common mistakes
- Wrapping up and next steps
What you need
- ● Pruning shears – Bypass pruners (sharp, 6–8" blades) for clean cuts on small branches.
- ● Loppers – 8–10" bypass loppers for thicker branches (½"–1.5" diameter).
- ● Pruning saw – Curved-tooth handsaw for branches over 2" in diameter.
- ○ Extension pole pruners – 10–15 ft. reach for high branches (optional but helpful!).
- ● Ladder – Sturdy, extendable 16–20 ft. (ensure it’s rated for your weight + tools).
- ● Work gloves – Heavy-duty, cut-resistant (e.g., Mechanix or pruning-specific gloves).
- ● Safety glasses – Protects eyes from debris.
- ● Disposable pruning bags – 10–20 gallon capacity for collecting trimmings.
- ● Rubbing alcohol (70%+) – For sterilizing tools between cuts (prevents disease spread).
- ○ Pruning sealant – Optional for sealing large cuts (e.g., Tanglefoot Tree Wound Pruning Seal).
- ● Sharpie or marker – To label branches if you’re doing layered pruning in stages.
- ● Hose or bucket of water – For cleaning tools and rinsing sap off cuts.
- ● First-aid kit – Just in case (pepper trees can have thorns!).
Step-by-Step instructions for pruning your pepper tree
Here's how to shape your pepper tree for better sunlight and airflow—without stressing the plant.
🌿 Step 1: Assess the Canopy and Plan Your Cuts
Start by examining the tree from all sides. Look for branches that cross or rub against each other—these are your first targets. Also, identify any dead, diseased, or weak branches (they'll be brown, brittle, or without leaves). I mark these with a small piece of twine or a spray paint dot so I don’t miss them later.
Next, focus on creating a layered canopy. Aim for 3-4 main branches spaced evenly around the trunk, each with its own smaller branches. This lets sunlight reach the center and improves airflow, which prevents fungal issues. Think of it like opening a curtain—you want light to spill through, not just pool at the edges.
✂️ Step 2: Remove Dead and Problem Branches First
Grab your pruning shears and start with the easy cuts. Dead branches snap cleanly when you bend them—remove these first by cutting just outside the branch collar (that swollen area where the branch meets the trunk). For diseased branches, sterilize your shears with rubbing alcohol between cuts to avoid spreading pathogens.
Next, tackle crossing branches. Choose the healthier of the two and cut the other one back to its point of origin. Never leave a stub—it invites rot and weakens the tree. If a branch is too thick for shears, use a handsaw, but make sure to cut 1/4 inch above a bud so the tree knows where to grow next.
☀️ Step 3: Thin Out the Interior for Light Penetration
Now, focus on the tree’s interior. Reach in and gently pull back branches to see what’s hiding in the shade. Remove 20-30% of the foliage from the center, prioritizing thin or spindly growth. You’re not trying to strip the tree—just let light and air move through. Think of it like thinning a bush so sunlight can reach the soil below.
Watch for branches growing straight up or down—they’ll block light if left unchecked. Cut these back to a 45-degree angle just above a outward-facing bud. This encourages the tree to fill out rather than grow in one direction. Step back every few minutes to check your progress—you’ll see gaps opening up like windows.
🪴 Step 4: Shape the Outer Canopy for Balance
Now, work on the outer edges. Trim back any branches that are growing too long or leggy, cutting them back to a strong lateral branch. Aim to create a natural, rounded shape—pepper trees respond best to gradual shaping, not harsh cuts. For larger branches, make your cuts just outside the branch collar and avoid leaving stubs.
Pay attention to the tree’s natural growth pattern. If one side looks sparser, encourage growth there by cutting back competing branches on the fuller side. A balanced canopy means the tree won’t lean or become top-heavy. After each cut, wipe your shears clean to prevent sap buildup, which can attract pests.
⏰ Step 5: Clean Up and Monitor Recovery
Once you’re done cutting, rake up all the debris and dispose of it away from the tree—this prevents fungal spores from lingering. Give the tree a deep watering to help it recover, especially if you made large cuts. Over the next 2-3 weeks, keep an eye on the pruned areas for signs of stress like yellowing leaves or oozing sap.
You’ll know you’ve done it right when new buds start forming at the cut sites and sunlight begins filtering through the canopy. Avoid heavy pruning again for at least 6 months—pepper trees heal best when given time to adjust. In the meantime, fertilize lightly to support new growth, and keep the area around the base free of weeds.
Tips & tricks for perfect pepper tree pruning
These simple strategies will help you shape your pepper tree like a pro while keeping the plant healthy and thriving.
The Branch Collar Rule: When cutting branches in Step 2 and Step 4, always make your cuts just outside the branch collar—the swollen area where the branch meets the trunk. This prevents unsightly stubs that can trap moisture and lead to rot. I've seen too many pruning jobs ruined by leaving these little "wounds" exposed. The collar acts like a natural bandage for the tree.
Visual Progress Check: After thinning the interior in Step 3, step back every few minutes to check your progress. You're aiming for sunlight to filter through like sunlight through a curtain. If you can see the trunk clearly from all sides, you've done enough. I learned this the hard way—my first attempt left too many branches, and the center stayed dark and damp for months.
Sterilization Matters: Always sterilize your pruning shears with rubbing alcohol between cuts, especially when dealing with diseased branches in Step 2. This prevents spreading pathogens to healthy parts of the tree. I keep a small bottle of alcohol in my pruning kit and wipe down the blades after every 3-4 cuts. It takes 10 seconds but saves hours of potential cleanup later.
Recovery Timeline: The 2-3 week recovery period mentioned in Step 5 is crucial. During this time, monitor for yellowing leaves or sap oozing from cuts—these are signs the tree is struggling. I've found that lightly fertilizing during this period (using a balanced 10-10-10 formula) helps support new growth without overwhelming the tree.
Pro Tips for Pepper Tree In
- These simple strategies will help you shape your pepper tree like a pro while keeping the plant healthy and thriving.
- The Branch Collar Rule: When cutting branches in Step 2 and Step 4, always make your cuts just outside the branch collar—the swollen area where the branch meets the trunk.
- Visual Progress Check: After thinning the interior in Step 3, step back every few minutes to check your progress.
Frequently asked questions
Got questions about pruning your pepper tree for that perfect layered canopy? You’re not alone! Here are some of the most common queries—and their answers—to help you trim with confidence.
When is the best time to prune a pepper tree for a layered look?
The ideal time to prune is late winter to early spring, just before new growth begins. This timing minimizes stress on the tree and ensures a strong recovery. Avoid heavy pruning in summer or fall, as it can expose the tree to pests or disease.
How do I know if I’m over-pruning my pepper tree?
Watch for yellowing leaves, stunted growth, or excessive sap—these are red flags. A good rule of thumb: Never remove more than 25% of the canopy in one session. For layered pruning, focus on shaping rather than drastic cuts.
Can I prune a pepper tree in full sun without harming it?
Yes, but timing matters! Prune on overcast days or early morning to reduce sun stress. If you must prune in full sun, water the tree thoroughly before and after to help it recover faster.
What’s the difference between topping and layered pruning?
Topping
involves cutting the main stem flat, which can lead to weak regrowth. Layered pruning, however, selectively trims branches to create tiers, improving airflow and sunlight penetration—ideal for pepper trees!
My pepper tree has dead branches after pruning—what should I do?
Dead branches are normal if you pruned correctly, but don’t panic! Remove them completely with clean cuts, and apply pruning sealant (optional) to larger wounds. Keep the tree well-watered, and new growth should emerge soon.
Wrapping up and next steps
Pruning your pepper tree for a layered canopy isn’t just about aesthetics—it’s a game-changer for sunlight, airflow, and even fruit production! 🌿 By following the right techniques and timing, you’ll create a healthier, more vibrant tree that thrives year after year.
Whether you’re a seasoned gardener or just starting out, this guide gives you the confidence to tackle the job like a pro.
Ready to take the next step? Grab your tools, mark your calendar, and get pruning—your pepper tree (and future harvests) will thank you! For extra inspiration, check out before-and-after photos of well-pruned trees or join a gardening forum to share your progress. Happy trimming! ✂️